What Your Favorite Knitter Needs: Labels!
I started knitting when I lived in New York City. It was the era right after the book Stitch N' Bitch came out, so naturally I was on the hunt for local Stitch N' Bitches! I found my clan on the Upper West Side and had many a laugh with them until it was time for a new chapter in Montréal.
My going-away gift was one of the most thoughtful I've ever received. A set of woven labels for my knits!
These labels made me feel like a fashionista (but too bad "DKNY" was taken, lol). I think labels serve 3 very excellent purposes, and they're worth giving as a gift to your favorite knitter.
- They're perfect to attach onto knitted gifts.
- They're "proof" you didn't buy the dang thing!
- They reallllly help when you have an item with a very subtle back to front difference, like turtlenecks.
 |
| My Brocade by Kaffe Fassett |
My husband actually requested that I sew a label into one of his hand knitted turtlenecks, after I caught him wearing it backwards a couple of times!
 |
| His Cable Guy by Heather Dixon (of Stitch N' Bitch!) |
As wonderful as the gift labels were, I now have my own "brand", so I was interested in what kind of online label options were out there.
To my delight, Dutch Label Shop (based in Philadelphia) reached out to me and gave me a budget to try a few different types of labels. I enjoyed the process -- and really enjoyed the result -- so I'm going to show you exactly how you can get some, too.
----
First off, YOU DON'T NEED YOUR OWN LOGO. There is a template section where you simply add text of your choice, and another section where you can upload your own artwork.
USING THE TEMPLATES
To choose the template option, click on the upper left option on the Dutch Label Shop homepage, called "BASIC WOVEN LABELS".
Start by choosing a label size and the text you want.
Then choose the colors you want for the background fabric and the text. The program will alert you if there is not enough contrast between your two chosen colors.
Then choose a font and symbol. The sewing category has great ones!
Finally, choose if you want a frame (a line bordering the area of the label) and whether you want it to be sew on or iron on. For knits, I recommend sew on, because knits need to be flexible and move.
And voilà, the program shows you the final product for ordering!
USING YOUR OWN ARTWORK
Personally, I chose the other option on the upper right of the Dutch Label Shop homepage, "WOVEN LOGO LABELS."
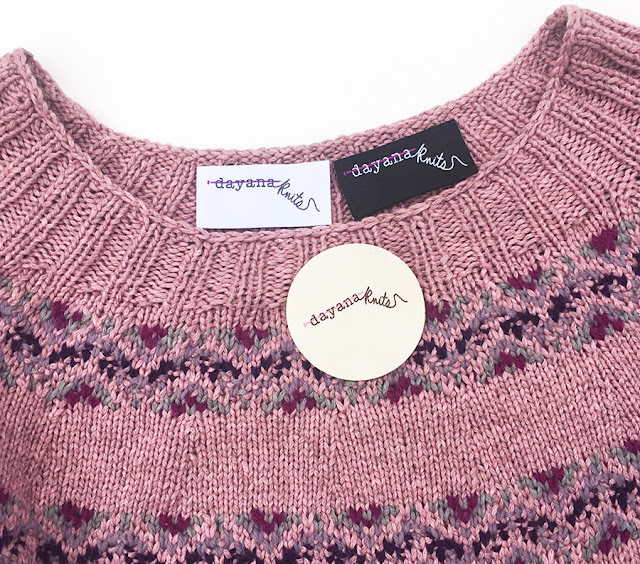
This option allows a ton more flexibility with label size, colors, shapes, and fold types. Before I show you how to do it, here are the three different shapes and colors I chose.
Note that you do NOT have to make different colored artwork for each of these. I uploaded the same logo and simply chose the different colors on the website! Don't be afraid of uploading, because you are guaranteed to get a product that works. From their site:
"Our expert will review your image to ensure it will turn out to be a great label. Revisions to the image (if required) are free of charge. Let us know if you have any questions on design, we are pleased to support you. A variety of file formats are allowed, including JPG, JPEG, PNG, GIF and PDF. If you have another file format, or if you have any questions, just call us, or shoot us an e-mail!"
And it is totally true. I was contacted within a couple of days with a mock up of my labels, along with an invitation for any tweaking I might need. I didn't need any, but don't be shy if there is something you want changed! They want you to be as happy with your labels as possible.
So let's go through the options, shall we?
First select your label type and slide the sliders to the exact size you want.
For some context, here are the three that I chose:
 |
| The "straight" option, 2.5" x 1.25" |
 |
| The "Manhattan fold" option, 2.5" x 1.25" |
 |
| The "laser cut - circle" option, 2.5" x 2.5" |
Do you see how the threads in my labels are nuanced in color compared to the options I showed you before? This is because the "WOVEN LOGO LABELS" option gives you a very deep color selection.
First you start with the background fabric color. Make sure to click the hexagons in the top row (not the text below them) to see the variety of hues in each color family that are available. Here are the many blues, as an example.
Next choose your thread colors. Do you see how there is a row of empty hexagons on top?
Simply select multiple colors to get all the colors you need in your logo.
Even better -- you don't need to hope they guess right, there is a comment box right below to say what you envision.
Finish off by choosing "sew on" labels and whether you'd like a photo emailed to you showing the produced labels for your approval. (Note that this is not just the mock up of your artwork before the labels are made, but a photo of the actual labels.)
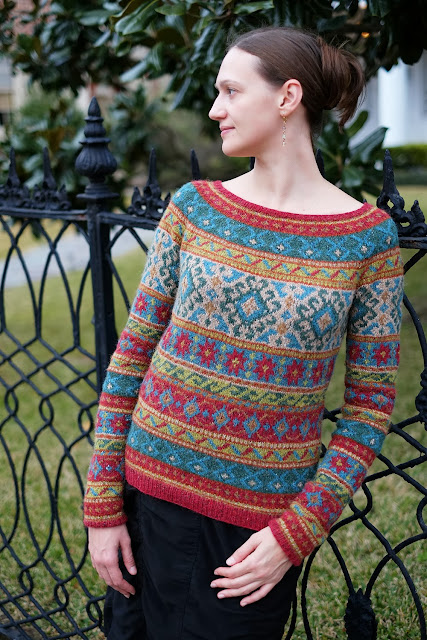
Learning from my previous label set, I chose to make more black labels than the other colors. Black looks great on most of my knits. (And I like the Manhattan fold because you can sew them on in a hidden way).
 |
| My (just finished!) Boheme by Marie Wallin |
But there is a place in this world for white...
 |
| My (finished forever ago but not blogged!) Millstone by Sarah Hatton |
... and that crazy circle! The challenge with this one is how to sew it. I would opt for a large contrast color running stitch for fun, or it tacked down at four points.
Hopefully this tutorial helps you get into a label-making frenzy! And yes, it's the holiday season, but be selfish and make yourself a set, too. 😚
Subscribe to this blog




Brilliant! Thx for your detailed description, Dayana!
ReplyDeleteYou are welcome! It was fun to go through it again, because I have some new ideas...
DeleteThese are great! Do you find them to be itchy at all? That's always been my hesitation about adding labels to my knits.
ReplyDeleteAn excellent question, Emily. I find the edges to be quite soft for "tags". I would say that if you want to avoid any irritation, go for less height and sew it down on each side (not just 2 sides or corners)
DeleteWOW! Thank you, Dayana. That's a great label service.
ReplyDelete-- Gretchen (aka stashdragon)
Glad to share it with you, Gretchen!
DeleteBeautiful labels! I'm just trying to order some today, and just to let you know the discount code is no longer valid.
ReplyDeleteThanks for the heads up! If you subscribe to their newsletter they do send codes periodically. enjoy your labels!
Delete